Access Control Usage
The access control app is primarily used to encode and validate access products. It can be accessed in the Operator App by navigating to Apps > Guest Operations > Access Control.
Accessing the Access Control Functions
The Access Control section of the Operator App can be accessed from the main menu by tapping on the Access Control icon.
Setting a Scan Location
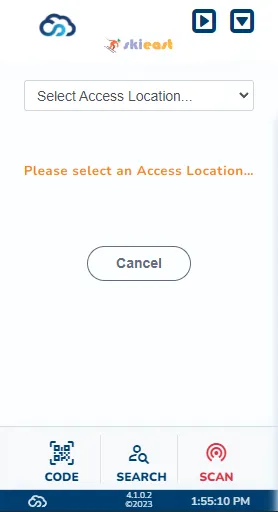
Before scanning any media, you will need to set the location that you will be validating access for.
If a location has not already been set upon opening the Access Control app, use the dropdown menu at the top of the screen to select the desired location.
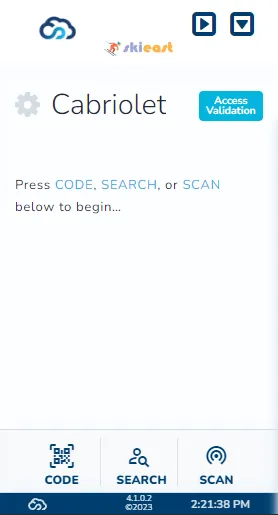
To change the scanning location later, tap on the gear icon in the top left corner of the screen. This will bring up a selector of available scan locations.
Scanning Guests for Access Validation
To scan a guest for access validation, perform the following steps:
- Ensure that the correct location is selected for scanning.
- Tap the ACCESS button in the bottom toolbar.
Depending on if a UHF device has been set up, pressing scan may do a few different things.
Without UHF
Upon initiating a scan without a UHF device connected, the following will occur:
- The iPhone will show a pop-up to scan with the phone’s internal NFC chip.
- After the pop-up appears, bring the phone to the piece of media you would like to validate.
A successful scan will give audio and visual feedback indicating that the scan was completed. Once scanned, the app will display the scan results. For more information on scan results, see the Scan Results article.
With UHF
If a UHF device is connected, scans may be initiated in two different ways:
- Pressing the ACCESS button in the app will command the UHF device to find the nearest piece of media.
- If the UHF device has a trigger button, you can also use this button to retrieve the nearest media’s information.
The device will vibrate if it successfully captures a tag. For more information about how to interpret scan results, see the Scan Results article.
Need more information about setting up a UHF device? Check out the UHF Setup page for instructions.
Performing Guest Lookups
In addition to scanning media for access validation, the Access Control app also allows team members to perform guest lookups.
Using the Code Scanner
The Code Scanner can be used to quickly look up guests or orders by scanning their respective barcodes. To scan a barcode, follow these steps:
- Tap on the CODE icon in the bottom left corner of the screen.
- If prompted, grant camera permissions to the app.
- Use the camera to scan the desired barcode.
Depending on the type of barcode scanned, the app will navigate to one of the following pages:
- Scanning a sale barcode will bring up the respective Order Overview page.
- Scanning a guest barcode will bring up the respective Guest Overview page.
Using the Search Function
The Search function allows team members to manually search for guests or sales. To use the search function, simply tap on the SEARCH icon in the bottom toolbar.
By default, clicking on SEARCH will take you to the Guest Search page. If you would like to search for sales instead, simply tap the SALES icon to access the Sale Search page.
Scan Results
After scanning a piece of media, the app will display the scan results on the screen. These results provide important information about the guest’s access entitlements and the validity of their media.
For more information about the different types of scan results, see the Access Control Scan Results article.