Adding Food and Beverage Product Photos
Each of your food and beverage products can contain photos to further enhance your menu. In this article, we’ll show you how to add photos to food and beverage products in SnowCloud.
This article assumes that you have already created a food and beverage item. For more information about how to create F&B items, see our article on creating food and beverage items.
-
Start by logging into your SnowCloud account.
-
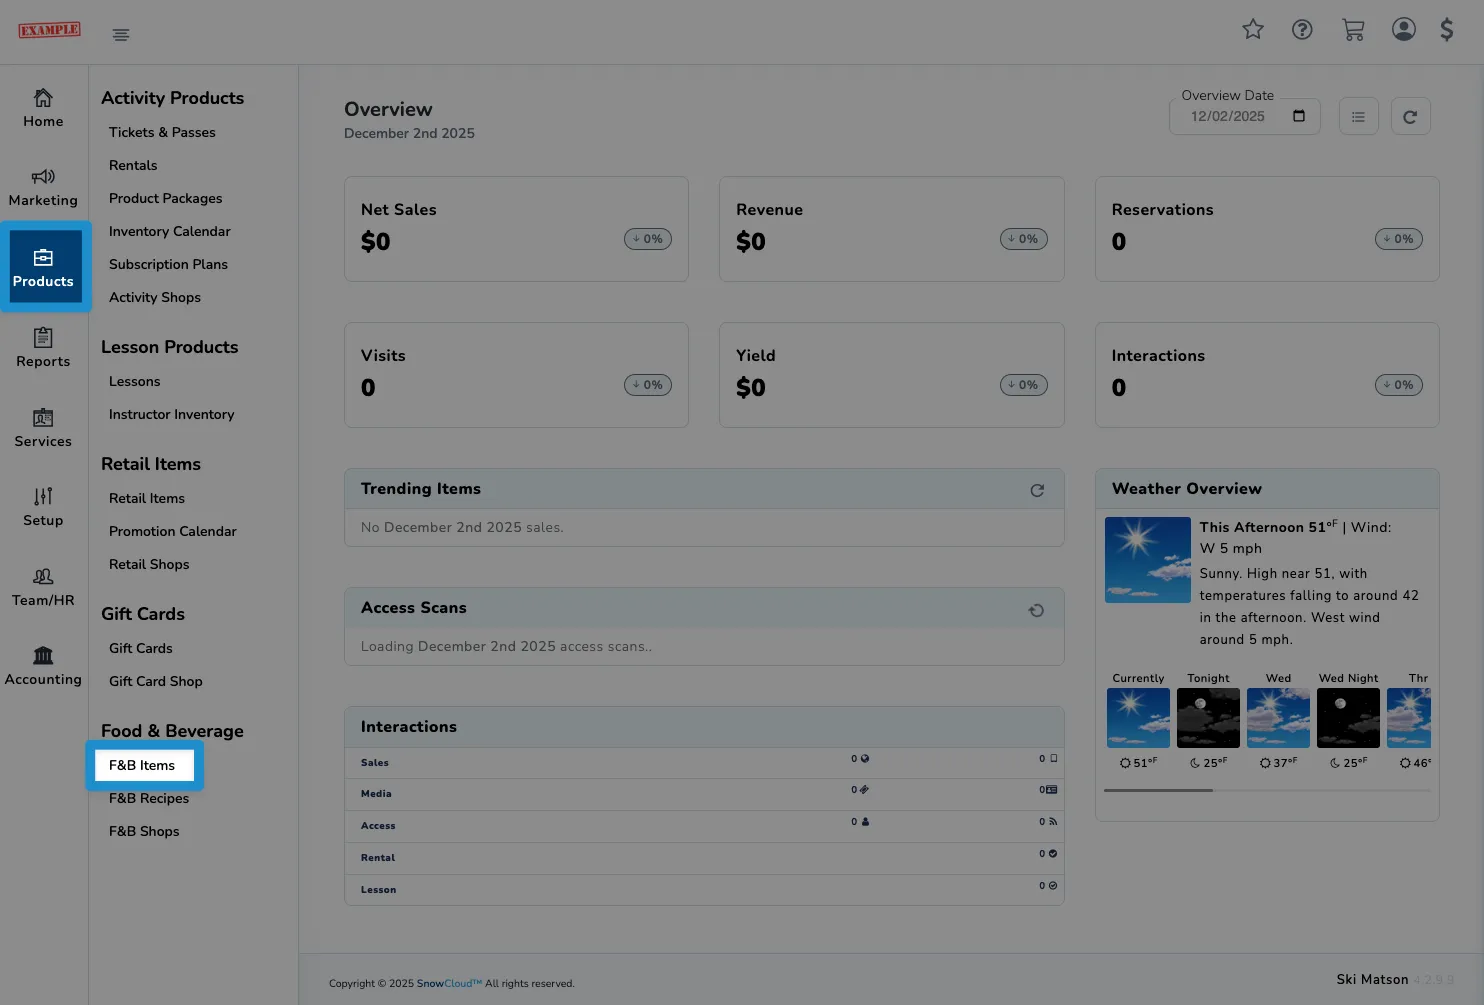
From the left side menu, click on Products, then on F&B Items.
-
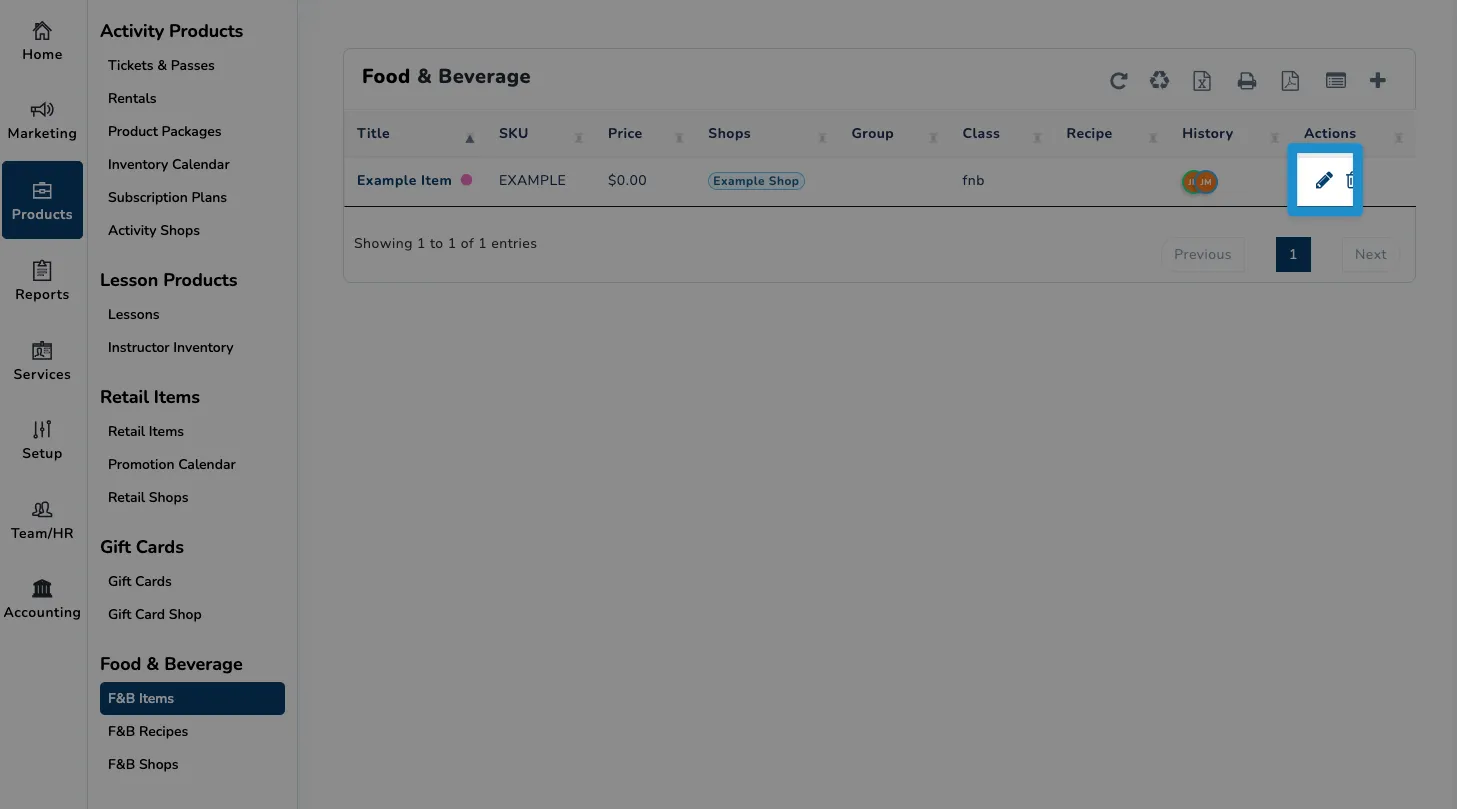
Locate the food or beverage item that you want to add photos to, then click on the pencil icon to the right of the item to edit it.
-
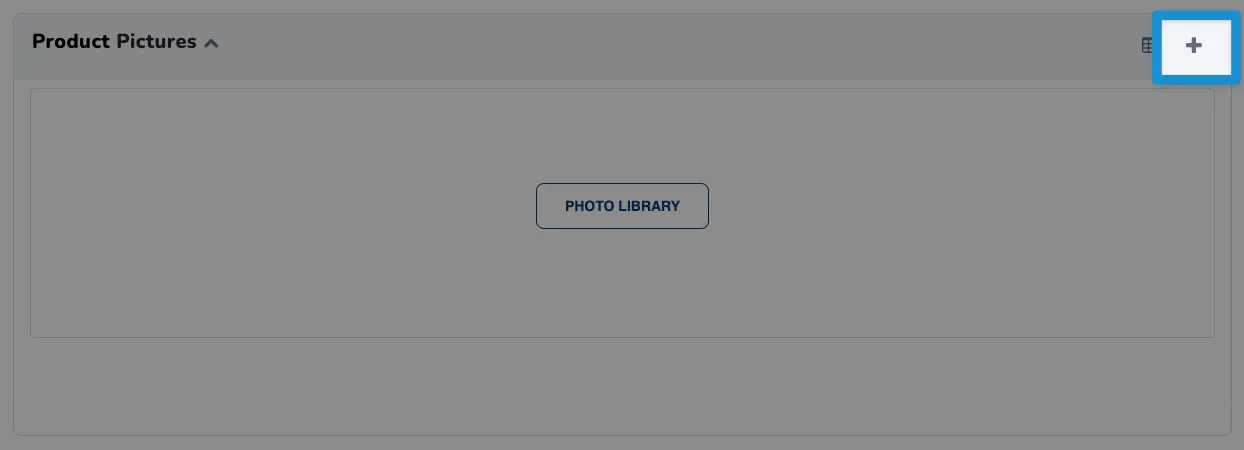
You should now be within the item configuration screen. From here, locate the Product Pictures section, then click on the plus icon at the top right of the section to add a new photo.
-
Any existing photos will be listed here. To add a new photo, click on the Upload Photos button at the bottom left of the window. This will open a file browser that you can use to select the photo from your computer to upload.
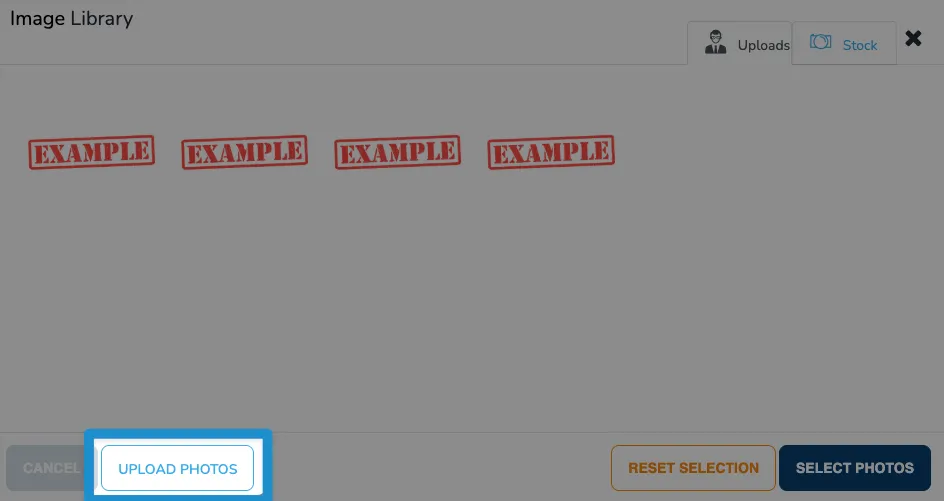
-
After your photo has been uploaded, it will appear within your image library. Simply click on one or more photos to select them, then click on the Select Photos button to add them to the item.
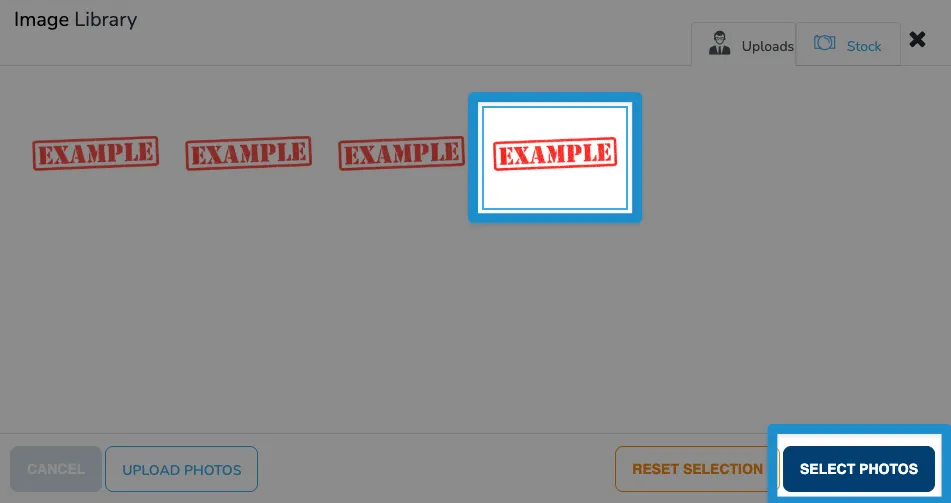
-
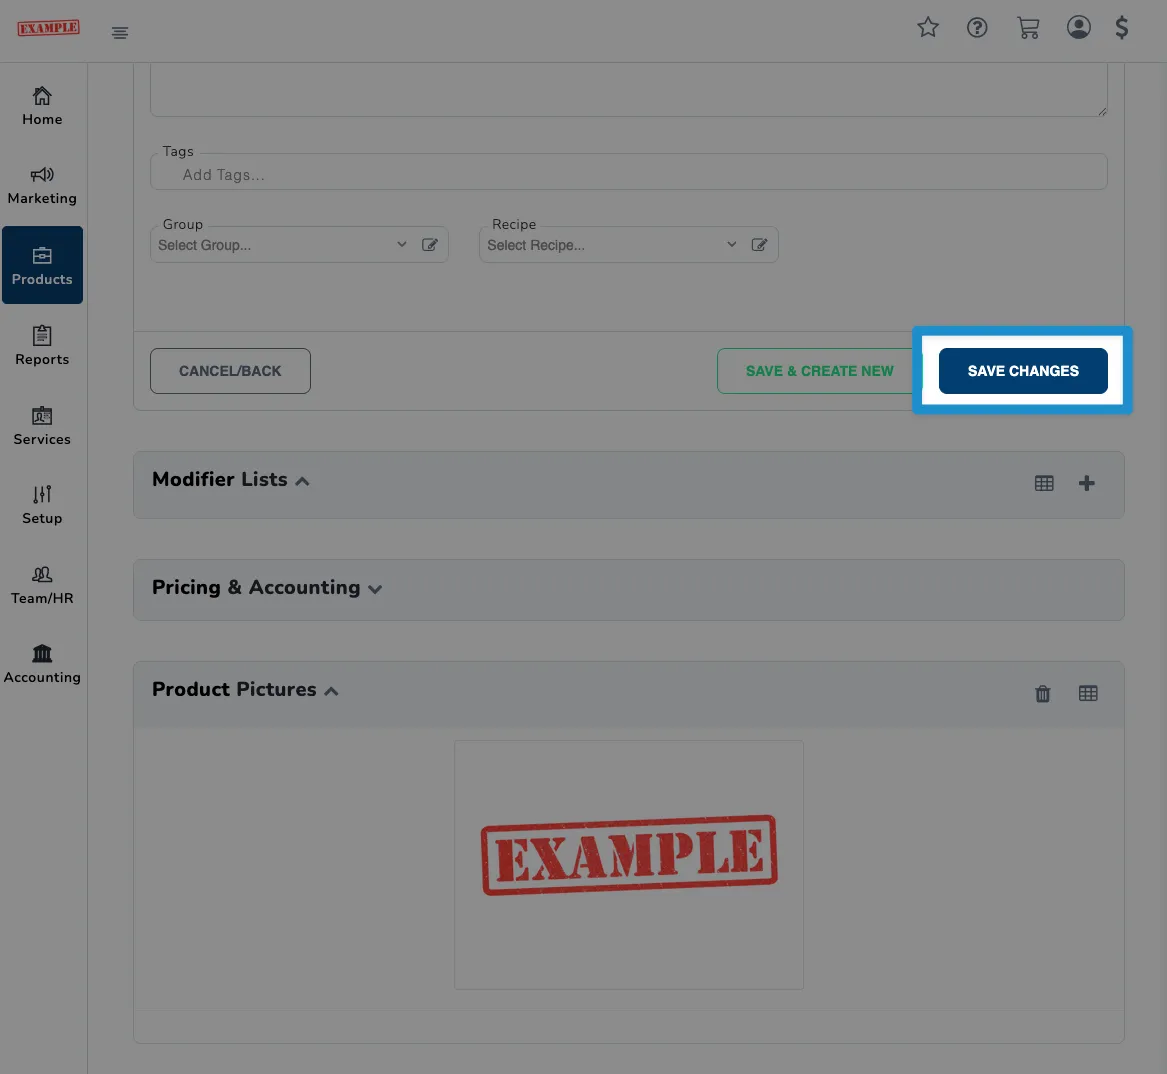
Finally, with your photos added, click on the Save Changes button to save your changes to the item.