Setting Up SnowPay
What’s the point of selling if you can’t get paid?! In this article, we’ll show you how to set up SnowPay to accept payments within SnowCloud.
Accessing the SnowPay Account Setup
-
Start by logging into your SnowCloud account.
-
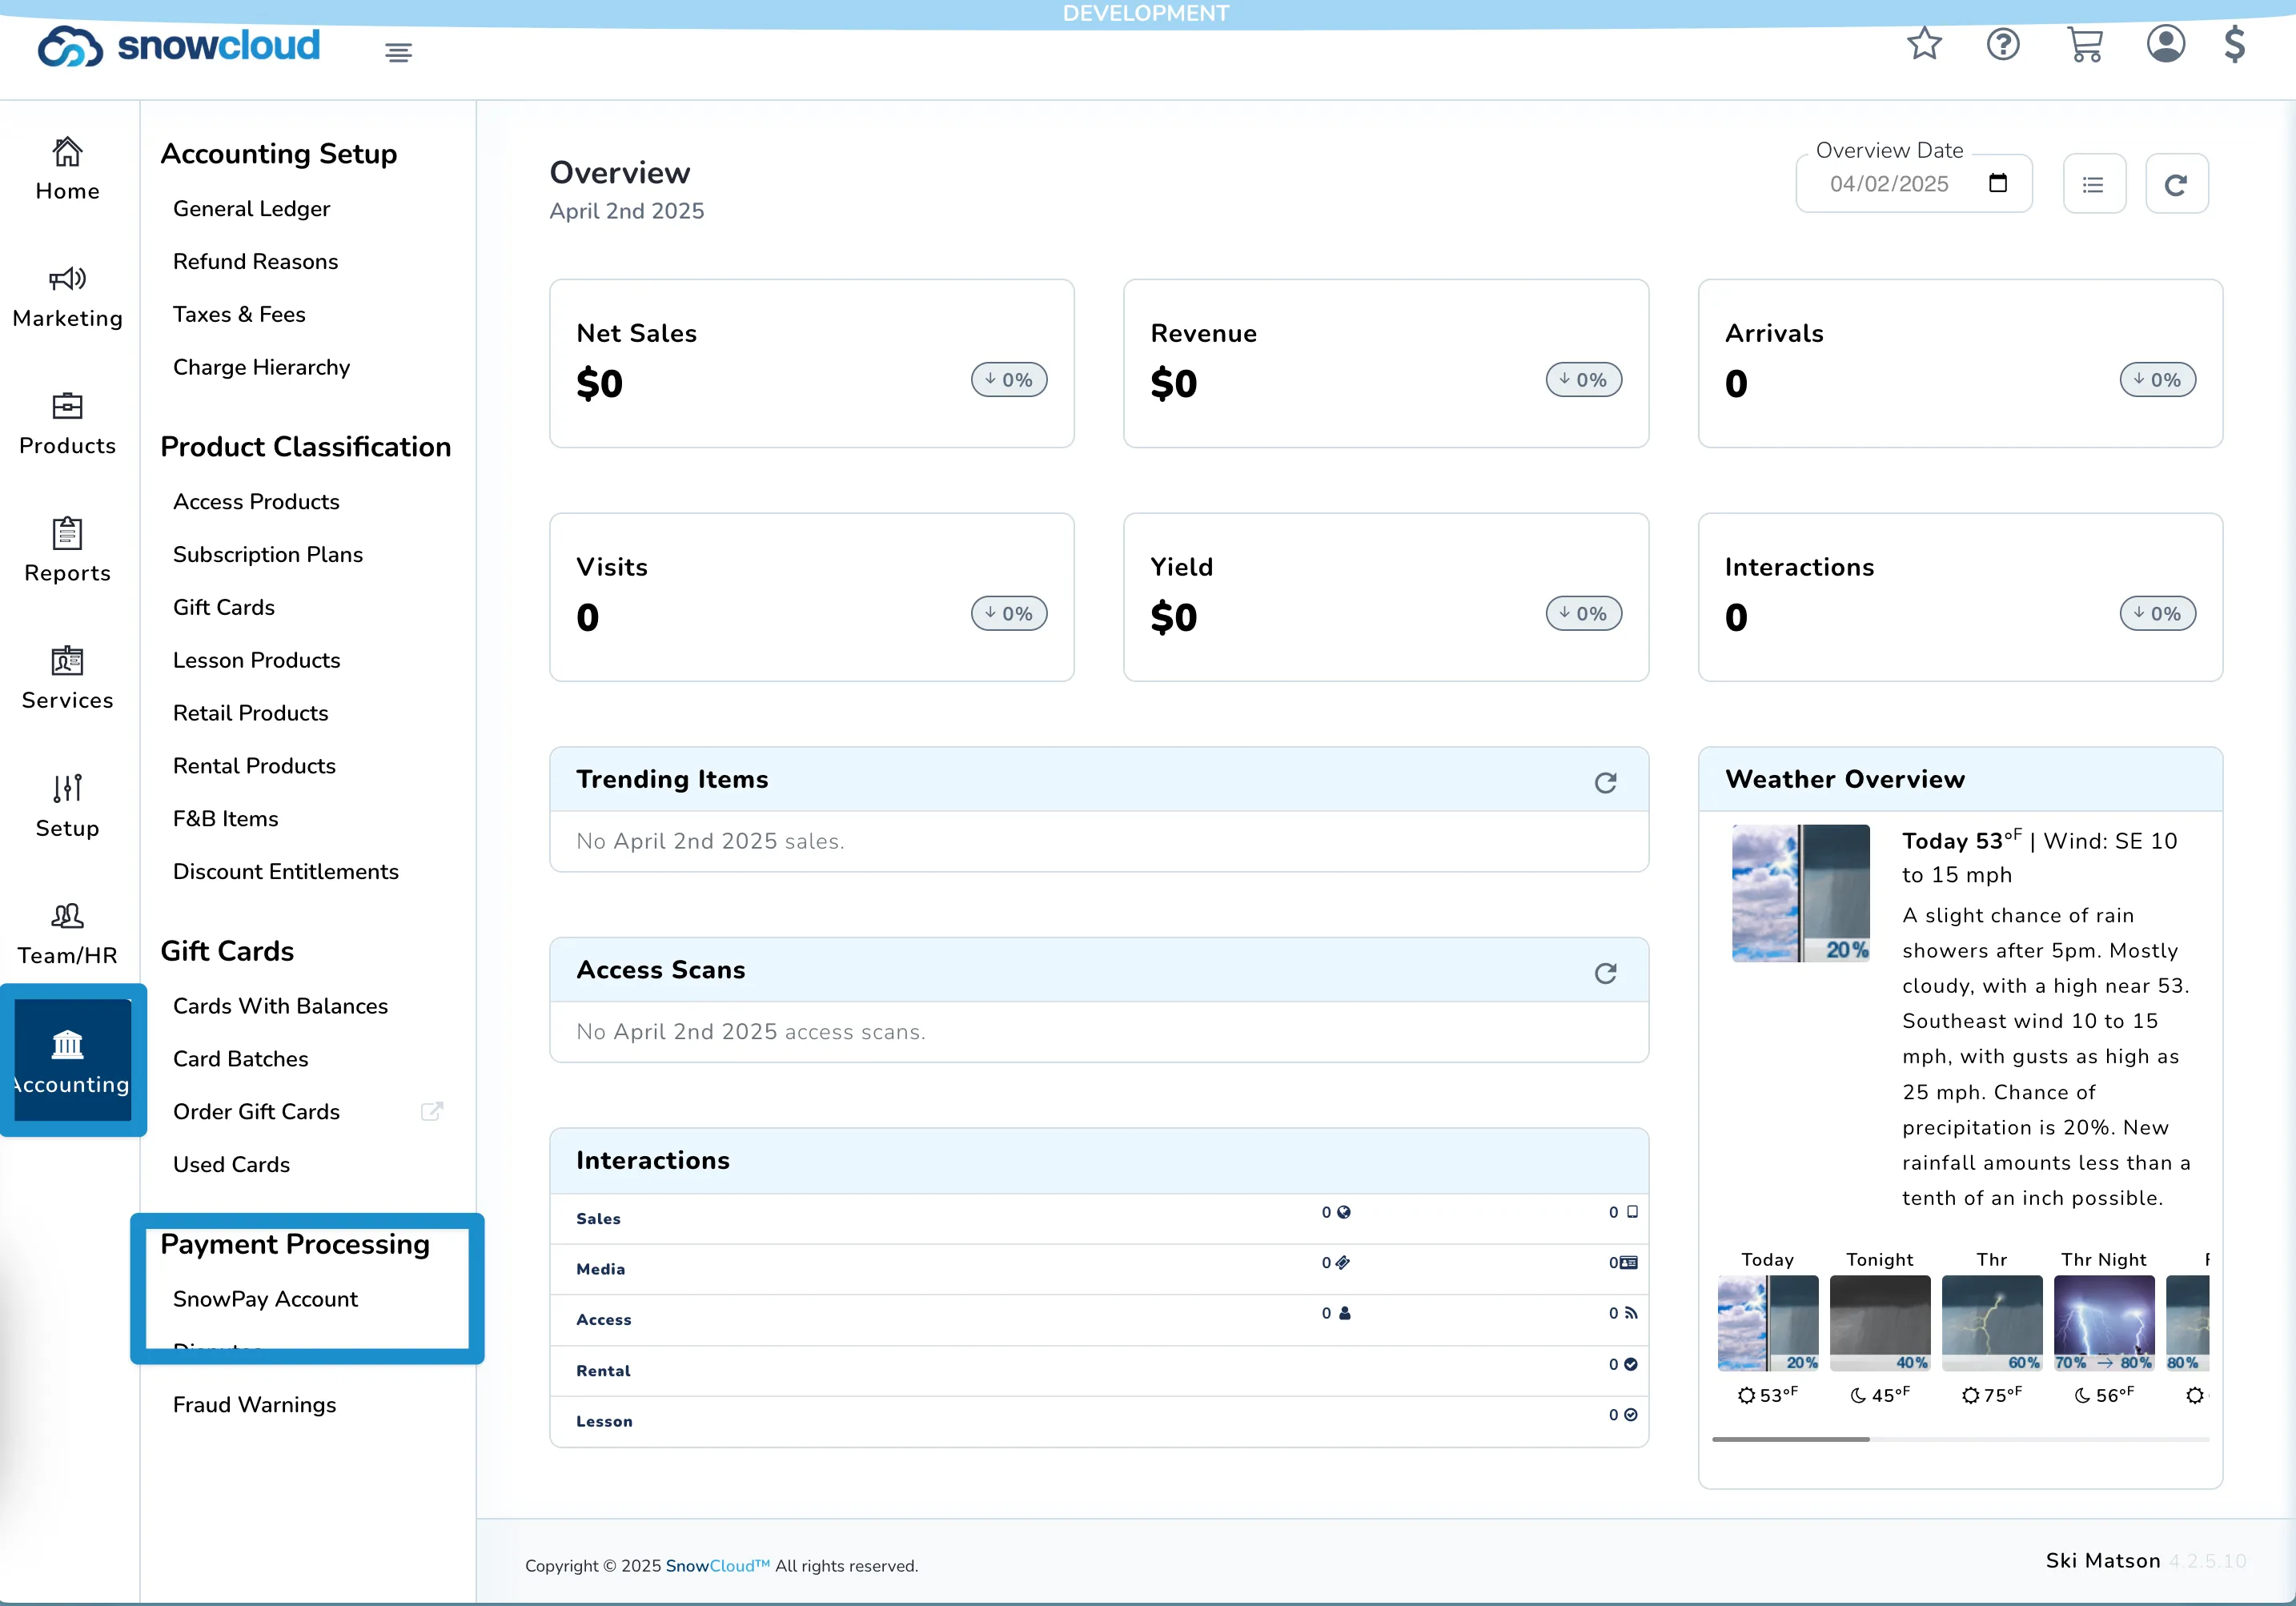
Within the left sidebar, click on Accounting.
-
Under the Payment Processing section, click on SnowPay Account.
-
You should now see the Account Setup screen. To start account setup, click on the Begin button.
Completing the SnowPay Account Setup
-
The first piece of information you’ll need to provide is your country. Use the Country dropdown to selecy your country, then click Next.
-
After selecting your country, you’ll be taken to our payment partner, Stripe. To begin the Stripe account creation process, select your business type within the Type of Business dropdown, then click Continue.
-
To process payments, Stripe will require some additional information about your business, based on your business type. Complete the required fields, such as your legal business name, email, tax ID, and address.
Once these fields are completed, click Continue to proceed to the next step.
-
Next, enter your your website within the Website field, then click Continue.
-
Finally, review the information you’ve provided, then click Agree and Submit to complete the account setup process.
Adding a Bank Account
After completing the initial setup of your SnowPay account on Stripe, you’ll be taken back to the SnowPay page within SnowCloud. Here, simply click on the Add Bank button to add a bank account.
Of course, if you ever need to make changes to your bank account information, you can access this page again from the left side menu by clicking on Accounting, then clicking on SnowPay.